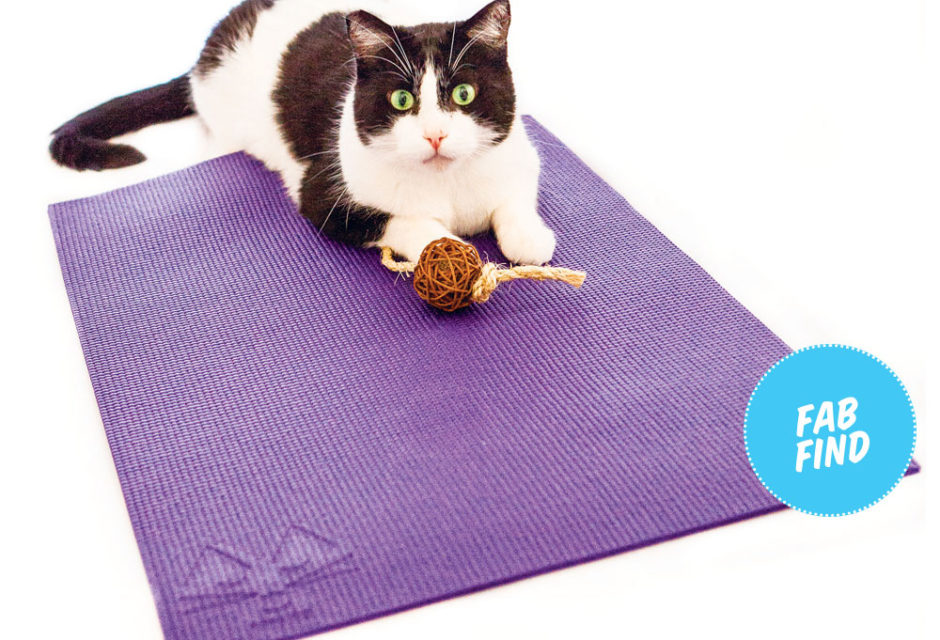

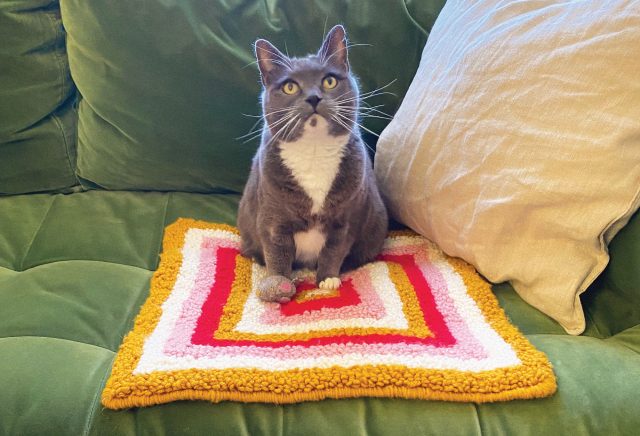
D.I.Y. Craft: Punch Needle Embroidered Pet Pad
Craft your own cozy, unique pet pad for your sofa, bed, or floor!
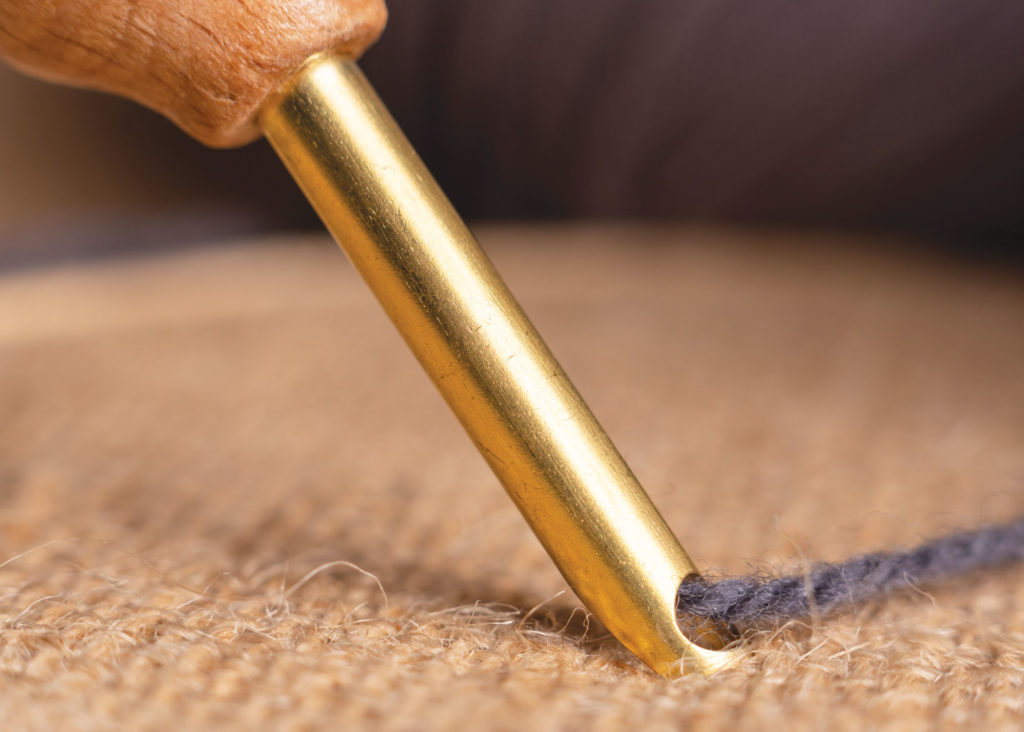
Related to rug hooking (and we all know how much cats like carpeting), punch needling is a type of embroidery that dates back hundreds of years but can look modern or rustic depending on the pattern and colours used. Instead of stitching through the fabric, you keep the needle on the surface. The result is a textured design made of loops. Once you get the hang of it, you can cover a large area quite quickly, making it a perfect technique for larger projects like this D.I.Y. pet pad. It’s one of the fastest types of needlework and even kids can learn the basics quickly. Let’s get started!
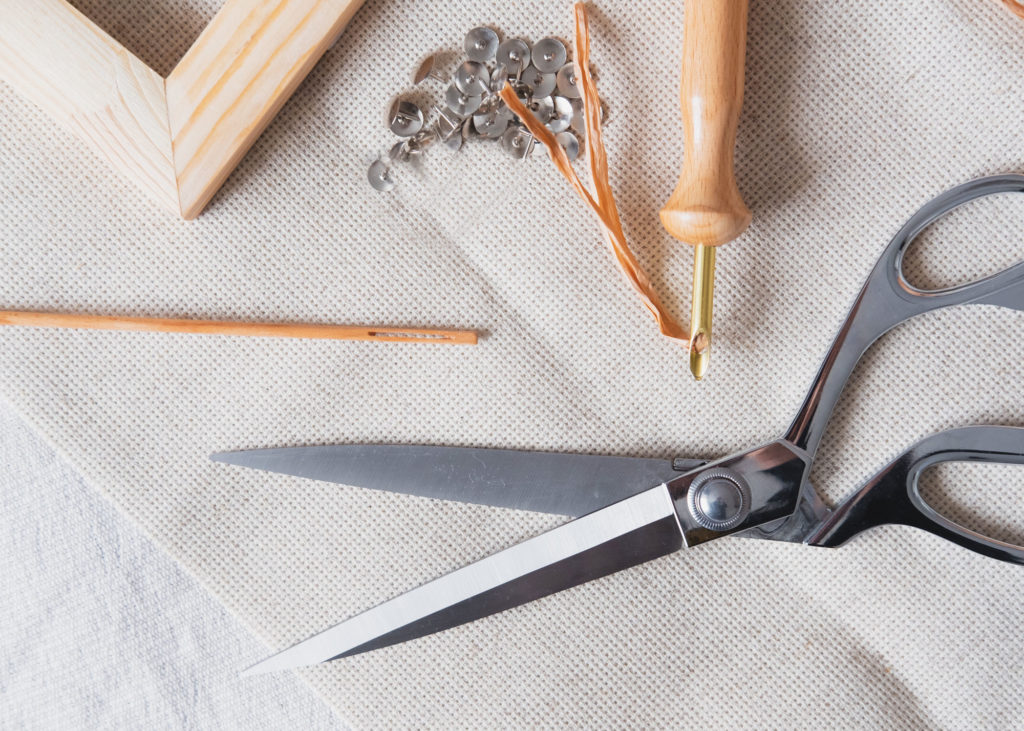
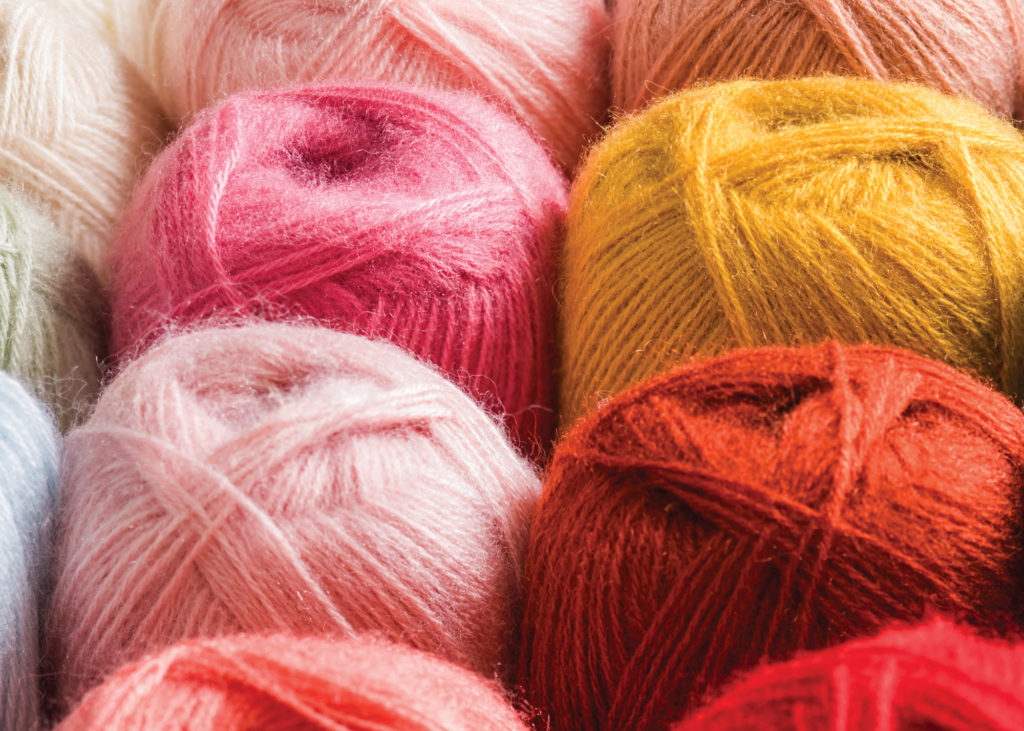
Photos from left to right: Mariajojojo/bigstock.com; Oksana Shufrych/shutterstock.com; photoboyko/bigstock.com
Supplies Needed:
- Punch needle
- Yarn in colours of your choice
- Staple Gun
- Staple Remover
- 20” Canvas with wooden frame*
- Monk’s cloth
- Marker
- Fabric scissors
- Elmer’s School glue
- Medium paintbrush
- Neutral coloured Felt
- Hot Glue Gun
Preparation:
For a fast start, you can buy patterns and punch needling kits that contain everything you need, but for a pet pad you’ll need a larger hoop than those included in most kits. I used an art-store stretched canvas, removing the canvas from the frame and re-covering the frame with monk’s cloth. Here’s how:
- Remove staples and pull off the canvas from the frame.
- Once the canvas is removed, set the frame down on a flat surface.
- Lay monk’s cloth overtop frame’s front side and cut to size leaving about two inches of cloth past the frame’s edge.
- Tighten the cloth and staple down the monk’s cloth on the edge of the wooden frame. Repeat on all four edges of the frame.
- Pull the edges of the monk’s cloth while stapling, ensuring the fabric is tight and feels like a drum. You will need one hand for pulling tight and one hand for stapling. Asking a buddy to help you with this will make it a bit easier!
- Flip the frame over and on the flush/flat side of the frame, use your chosen pattern or draw your design in mirror-image with a marker. This is the side you will be punching (you work on the reverse/wrong side). I chose a simple square pattern, using a ruler to measure each square shape evenly. For beginners, abstract patterns, shapes, and polka dots are easy to draw and punch!
Punch Needling Your Pattern
Your punch needle should come with a wire loop to help wind yarn through the needle. Follow the manufacturer’s instructions for threading your punch needle. For a large project like this, you’ll likely want to use the largest needle you have.
- Working on the backside, punch your needle down through the cloth at your chosen starting point. For this first punch, keep the needle in the cloth, pulling the yarn through to the opposite side (which will become the display side once completed) and leaving a one-inch tail of yarn coming through the opposite side. Once yarn is through, simply methodically punch back up and down, following your pattern. The size of your needle determines the size of the yarn loops you’re creating on the other side. Each punch should be about 0.25″ or 0.5″, one after the other.
- Continue this process until you are finished with that particular colour of yarn or have filled in the desired area.
- Once an area is complete, simply cut yarn where you want to end while your needle is punched up. To change colours, restart this process over again.
Finishing:
- Once your design is finished, remove the staples and pull the fabric from the frame. Trim any excess cloth leaving about one inch of monk’s cloth around the final design area.
- Cut slits in the corners of this border material so you’re able to fold the sides to the back.
- Generously brush School glue on the backside of the design. Fold and stick down the excess monk’s cloth so it’s adhered to the back. Brush more glue overtop of the folded down sides. Leave to dry for one or two days or until completely dry.
- Once dry, cut a felt piece and affix to backside with hot glue gun.
- Now show your cat your handiwork!

Join the newsletter and never miss out on cat content again!
"*" indicates required fields
By clicking the arrow, you agree to our web Terms of Use and Privacy & Cookie Policy. Easy unsubscribe links are provided in every email.
Misschievious